
AI Passport Photo Apps in 2026: Do They Actually Pass Approval?
AI passport photo apps can work — but only when they follow strict country rules and you verify every detail before submitting.
If you have ever had a passport or visa photo rejected, you already know the pain: delayed travel, extra fees, and a second round of applications. In 2026, AI photo tools promise a faster path — automatic background cleanup, face centering, and size templates in one tap. But the big question remains: do AI passport photo apps actually pass approval? We tested the workflow, compared major options, and matched them against official requirements from government passport portals.
The Problem Everyone’s Facing
Most people assume passport photos are “just a headshot on white background.” In reality, approval systems check much more: exact dimensions, head-size ratio, lighting consistency, shadow removal, expression neutrality, and image sharpness. Even tiny errors can trigger rejection.
What makes this harder in 2026 is that more countries now process digital uploads first, often through automated validation before a human reviewer even sees your image. That means your photo must satisfy both technical rules and visual rules:
- Correct pixel dimensions and file format
- Accurate biometric framing (eyes/head placement)
- No heavy edits that alter facial features
- Even, natural lighting with minimal shadow
- Background contrast that still looks realistic
What official sources still emphasize:
- U.S. State Department: strict size/composition and no digitally altered appearance
- UK GOV passport photos: clear face visibility, natural expression, and compliant digital format
- Most e-visa systems: biometric consistency matters more than visual “beauty edits”
Sources: travel.state.gov, gov.uk
“I thought it looked perfect on my phone, but the upload checker rejected it twice because of head size and shadows near my ears.”— User complaint pattern commonly discussed in passport help forums
What Actually Works in 2026
After comparing current apps and official requirements, the winning approach is not “AI does everything.” It is AI + manual verification.
In other words: use AI for speed and cleanup, but verify against the exact destination country checklist before submission. Apps that position themselves as guaranteed acceptance without user review are risky — especially for first-time passports, renewals with strict digital checks, or visa applications with embassy-specific rules.
Here is the practical workflow that gives the highest pass rate:
- Start with a compliant capture — neutral expression, flat lighting, plain wall background.
- Use AI only for safe corrections — background replacement, crop alignment, and exposure balancing.
- Avoid face-changing edits — no smoothing, beauty filters, shape edits, or “portrait enhancement.”
- Check official dimensions for your destination (passport, visa, ID all differ).
- Export in required format and run any official checker tool before final submission.
Best Apps Compared
1) Passport Photo – ID Photo
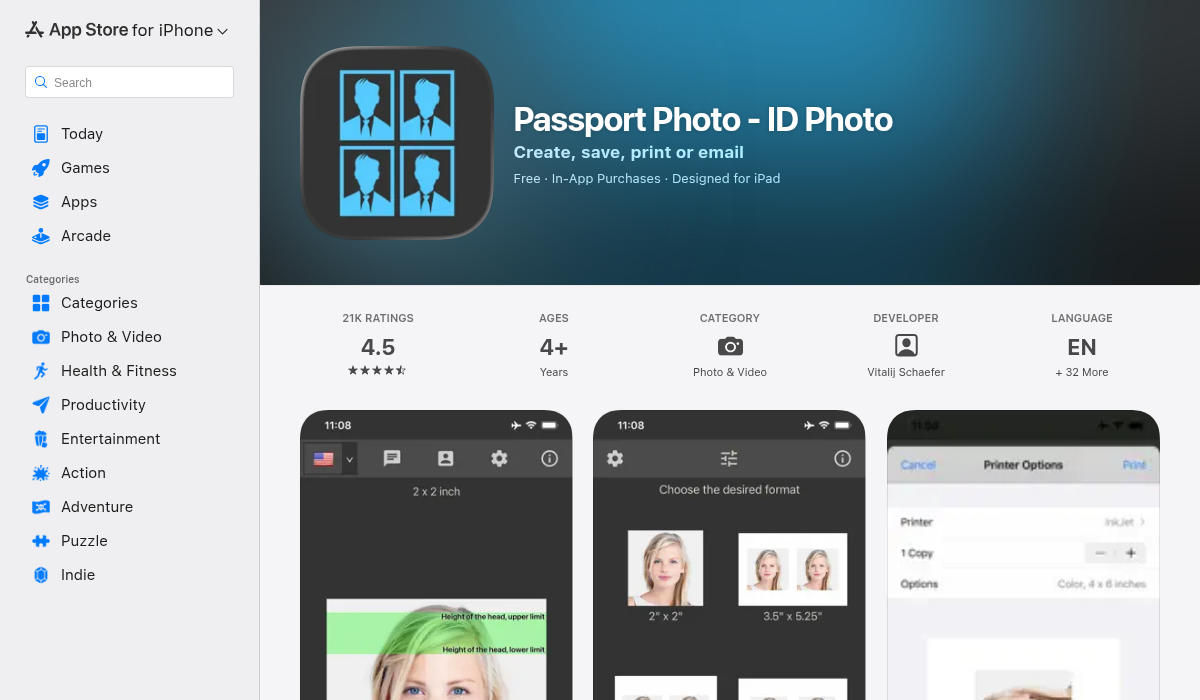
This app is focused on ID/passport workflows and includes preset formats for multiple document types. It is built for compliance first, which is exactly what many users need when they are preparing travel documents quickly.
- ✅ Country/document templates reduce sizing mistakes
- ✅ Straightforward crop and alignment flow
- ✅ Better for strict document-first users than creative editors
- ❌ Interface can feel technical for beginners
- ❌ Quality still depends heavily on your original photo capture
2) Passport Booth
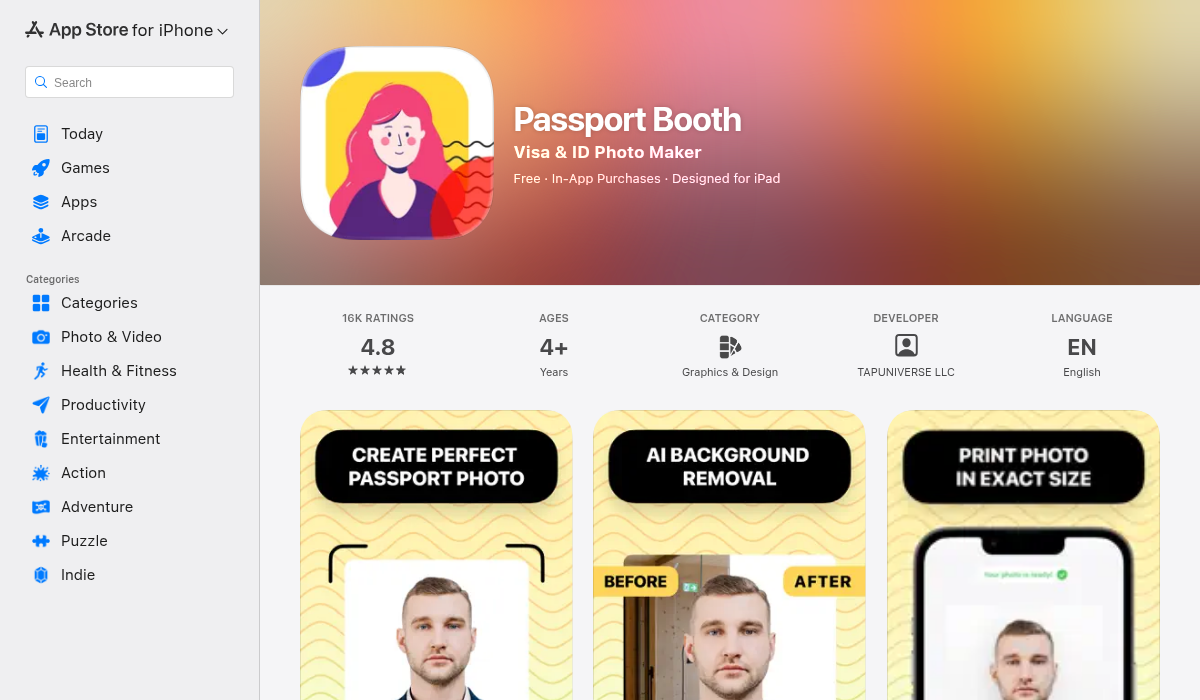
Passport Booth takes a similarly compliance-oriented approach. For users who want to generate a valid photo quickly without advanced editing knowledge, that simplicity helps. The biggest upside is reduced friction: fewer settings, clearer outputs.
- ✅ Quick setup and fast export
- ✅ Good default framing behavior for document photos
- ✅ Useful when you need a same-day application upload
- ❌ Fewer advanced correction controls for difficult lighting
- ❌ Limited flexibility if your source image is poorly captured
3) AIPGEN — Best if You Need Better Input Quality Before Compliance Export
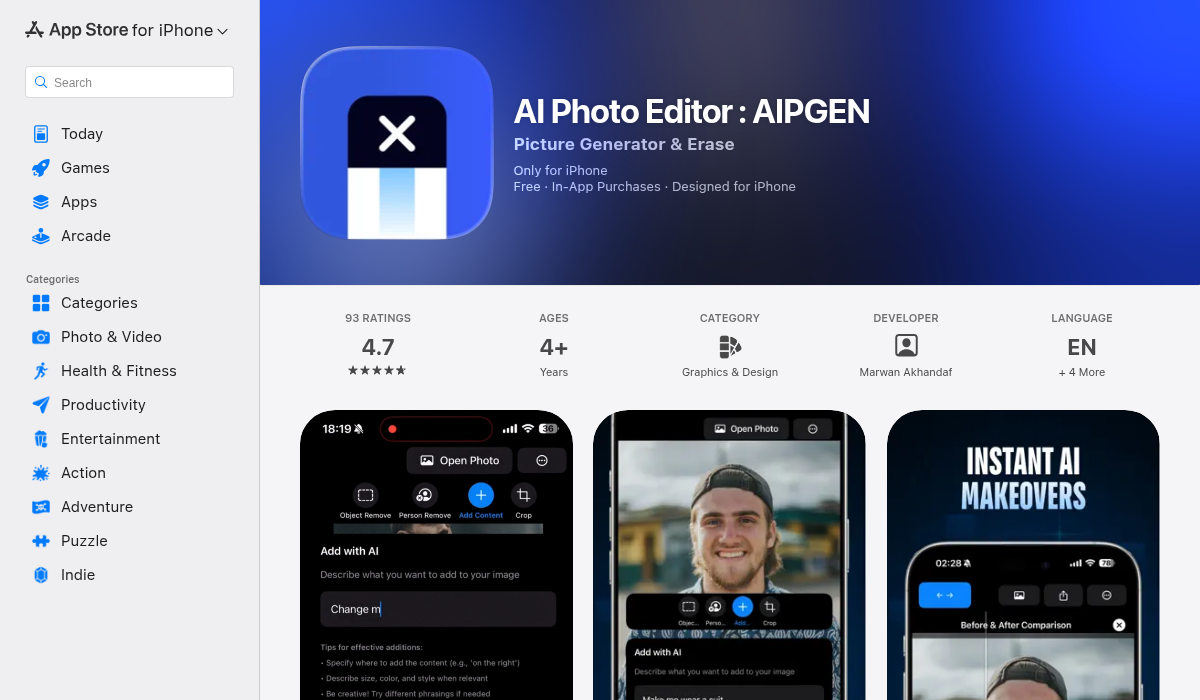
AIPGEN is not a “passport-only” app, and that is exactly why some users prefer it in real life. If your original photo has cluttered background, uneven light, or distracting objects, AIPGEN can significantly improve base image quality before you move into final compliance cropping in a document-focused tool.
- ✅ Strong background cleanup when your room setup is messy
- ✅ Useful enhancement pipeline for clarity and exposure balance
- ✅ Better general-purpose AI editing than single-purpose passport tools
- ❌ Not positioned as a legal/compliance guarantee product
- ❌ You still need final rule verification for each country/document
Practical recommendation: Use AIPGEN first to produce a cleaner source image, then validate final dimensions and composition with a passport-specific template or official checker.
How to Maximize Approval Odds (Step-by-Step)
Whether you use a dedicated passport app or a broader AI editor, approval rates improve when you treat the process like biometric capture — not social media editing.
Step 1: Capture Like a Document Photographer
- Stand against a plain light wall (off-white works better than bright white blowout).
- Face the camera straight-on; keep shoulders level.
- Use diffuse daylight or two balanced lamps to avoid facial shadows.
- Disable beauty mode, portrait blur, and any lens effects.
Step 2: Keep AI Edits “Biometrically Safe”
- Allow: background cleaning, exposure correction, basic sharpening.
- Avoid: skin retouching, eye enhancements, jawline changes, makeup filters.
- Re-check that facial proportions look natural and unchanged.
Step 3: Validate Against Destination Rules
- Check official country portal (passport office, visa center, embassy site).
- Confirm size (for example, 2x2 inch vs 35x45 mm style formats).
- Match file type, minimum resolution, and file-size limits.
- If available, run automated checker before paying submission fees.
Step 4: Keep a Backup Variant
Create and save two compliant versions with slight crop differences. If one fails auto-validation for composition, the second often passes without another full shoot.
Common Reasons AI Passport Photos Still Get Rejected
Even good apps fail when users miss one of these details:
- Over-editing: The face looks subtly altered (skin smoothing and facial contour changes are common causes).
- Incorrect head ratio: Face occupies too much or too little of the frame.
- Shadow artifacts: AI background cleanup leaves faint gray halo around hair/ears.
- Wrong output format: Correct image but wrong dimensions or compression level.
- Accessory issues: Glass glare, hat coverage, or hair obscuring key face landmarks.
The important takeaway: rejection usually comes from workflow mistakes, not from AI itself. When AI is used conservatively and verified against official standards, results are often accepted.
Are “Guaranteed Approval” Claims Real?
Some apps market acceptance guarantees. In practice, no app controls final decisions made by governments or consulates. At best, these guarantees usually mean app-specific refund terms if their template fails — not guaranteed passport issuance.
So treat guarantee language as a convenience promise, not legal certainty. Your safest path is still:
- Use high-quality source capture
- Apply minimal AI corrections
- Cross-check official requirements on the same day you submit
Our Verdict: Do AI Passport Photo Apps Actually Pass Approval?
Yes — frequently — when used correctly. AI passport photo apps are now good enough for many applicants, especially when combined with strict validation. But blind one-click generation is still risky.
If your original photo quality is poor, start with an AI editor that improves clarity and background consistency. If you already have a clean photo and just need format compliance, a dedicated passport template app is usually faster.
For most users in 2026, the best strategy is hybrid:
- Use AI editing to fix capture quality issues
- Use passport-specific formatting for final output
- Use official government requirement pages as the final source of truth
Pro Tips for Best Results
- Take 6–10 shots, not one — micro differences in chin angle and shadow can decide acceptance.
- Don’t trust phone preview alone — zoom to 100% and inspect edge artifacts around hair and jawline.
- Re-check requirements every submission — rules and upload validators change over time.
Quick FAQ (2026)
Can I use an AI-generated background?
Yes, if it remains plain, natural, and free of visible cutout artifacts. The final image must still look like an authentic photo capture, not a synthetic portrait render.
Are glasses allowed?
Some jurisdictions discourage or restrict glasses because of glare and eye obstruction risk. If rules are unclear, remove glasses for safer approval odds.
Can I smile?
In most passport systems, a neutral expression is safest. A slight natural expression may be acceptable in some countries, but wide smiles can fail biometric checks.
What if one country accepts and another rejects?
That is normal. Passport, visa, and residence permit systems often use different photo standards. Always optimize for the exact document you are applying for — not a generic “passport photo” preset.
The bottom line: AI tools are now strong enough to save time and reduce retakes — but compliance wins over convenience every time. If you want a cleaner starting image before final document formatting, AIPGEN is worth trying as part of your passport-photo workflow.