
AI Photo Editing Tips: Getting Perfect Results Every Time
You downloaded an AI photo editor, ran a quick edit, and the result looks... off. Maybe the AI left weird artifacts, blurred things it shouldn't have, or completely missed the object you wanted removed. Sound familiar?
AI photo editing has gotten remarkably powerful in 2026, but there's still a gap between what these tools can do and what most people actually get out of them. The technology isn't the problem — it's knowing how to work with it. After testing dozens of AI editors and scrolling through countless Reddit threads, we've compiled the tips that actually make a difference.
Why Most AI Edits Fall Flat
Here's the thing about AI photo editors: they're trained on millions of images, but they can't read your mind. When you highlight an area for removal, the AI makes assumptions about what you want based on context clues — the surrounding pixels, lighting, patterns, and composition.
The gap between "meh" results and stunning edits usually comes down to how well you communicate with the AI. Give it better input, get better output.
"I had a blast testing these, though each has quirks. The key is learning what each tool does best and matching it to the job."— Reddit user in r/AIToolTesting
This sentiment echoes across photography communities: the tool matters less than technique. Let's dive into what actually works.
Tip 1: Start With the Highest Resolution Image Possible
This might seem obvious, but it's the most common mistake we see. AI editors analyze pixel patterns to understand your image. More pixels = more data = better decisions.
If you're editing a screenshot or a compressed image from messaging apps, you're handicapping the AI before it even starts. Here's what to do:
- Use original photos from your camera roll, not screenshots
- Avoid images that have been compressed through WhatsApp, Instagram DMs, or email
- If working with scanned photos, scan at 300 DPI minimum
- Check your phone's camera settings — shoot in the highest quality available
The difference between editing a 12MP image versus a compressed 1MP version can be night and day. AI restoration tools especially benefit from this — more original detail means more accurate reconstruction.
Tip 2: Be Precise (But Not Too Precise) With Selections
When removing objects or people from photos, selection technique matters more than you'd think. Here's the counterintuitive part: slightly oversizing your selection often produces better results than pixel-perfect tracing.
Why? AI editors need context. When you select just the object with no margin, the algorithm has to guess what's directly adjacent to every edge. Give it a small buffer of surrounding pixels, and it can better understand how to blend the replacement naturally.
The sweet spot:
- For object removal: select with a 5-10 pixel margin around the object
- For person removal: include shadows and reflections in your selection
- For text removal: select the entire text block, not individual characters
- For complex backgrounds: do multiple smaller selections rather than one massive area
"If you want reliable, light edits: pair a simple workflow with one 'traditional' AI editor for control. That multi-tool approach is the consistent Reddit answer in 2026."— Reddit user in r/AskTechnology
Tip 3: Work in Stages, Not All at Once
Resist the urge to fix everything in a single pass. AI editors perform significantly better when you break complex edits into discrete steps.
Consider this workflow for a photo with multiple issues:
- First pass: Remove the largest unwanted object
- Save or confirm the result
- Second pass: Remove smaller distractions
- Third pass: Apply restoration or enhancement
- Final pass: Touch up any remaining artifacts
Each stage gives the AI a cleaner canvas to work with. When you try to remove three people, fix a scratch, and enhance colors simultaneously, the algorithms can conflict and produce muddy results.
Tip 4: Understand What Each Tool Does Best
Not all AI editors excel at the same tasks. Matching the right tool to your specific editing need is half the battle. Here's how the landscape breaks down in 2026:
TouchRetouch — The Object Removal Specialist
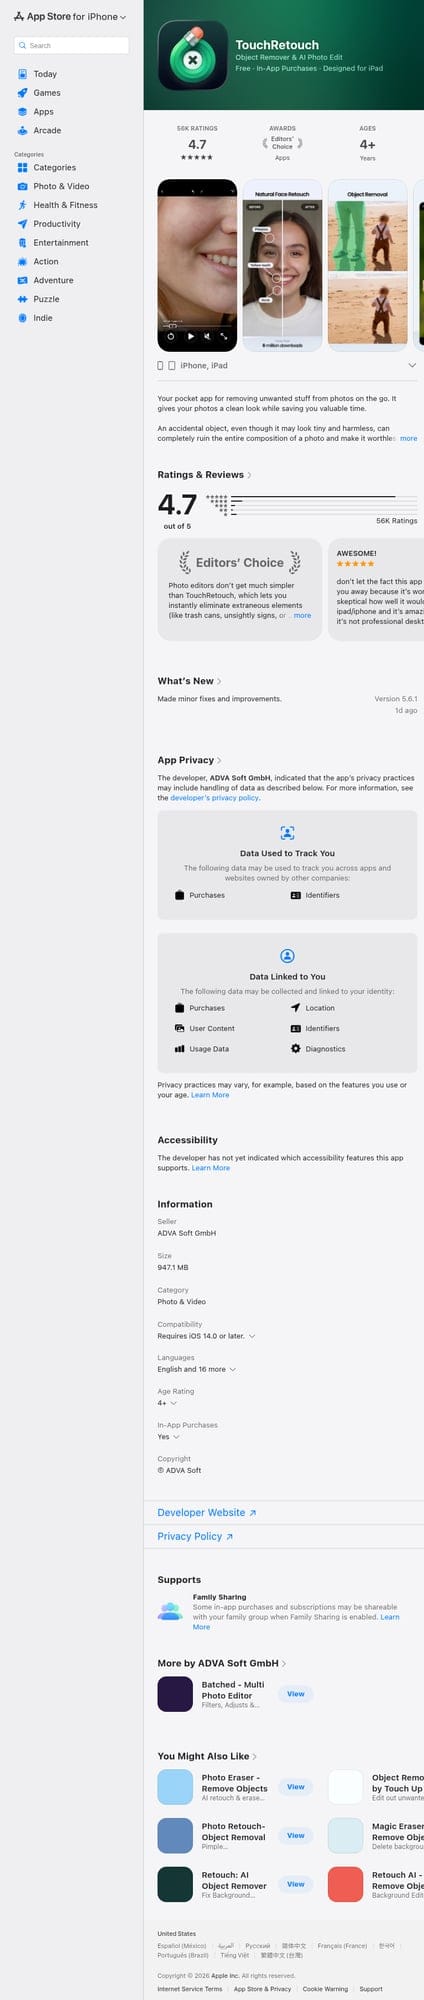
TouchRetouch has been around for years and does one thing well: removing unwanted objects. It's fast and reliable for simple tasks like power lines, trash cans, or photobombers.
- ✅ Quick and easy object removal
- ✅ Simple interface, low learning curve
- ❌ Limited to removal only — no restoration, templates, or creative tools
- ❌ UI feels dated compared to newer options
- ❌ Struggles with complex backgrounds
Remini — The Enhancement King

Remini built its reputation on face enhancement and photo upscaling. If your primary goal is making blurry faces clearer or turning old photos crisp, it delivers impressive results.
- ✅ Excellent face enhancement and upscaling
- ✅ Fun creative filters (90s anime style, etc.)
- ❌ Primarily focused on enhancement — limited editing capabilities
- ❌ Can over-smooth faces, making them look artificial
- ❌ No object removal or composition tools
AIPGEN — The All-in-One Workhorse
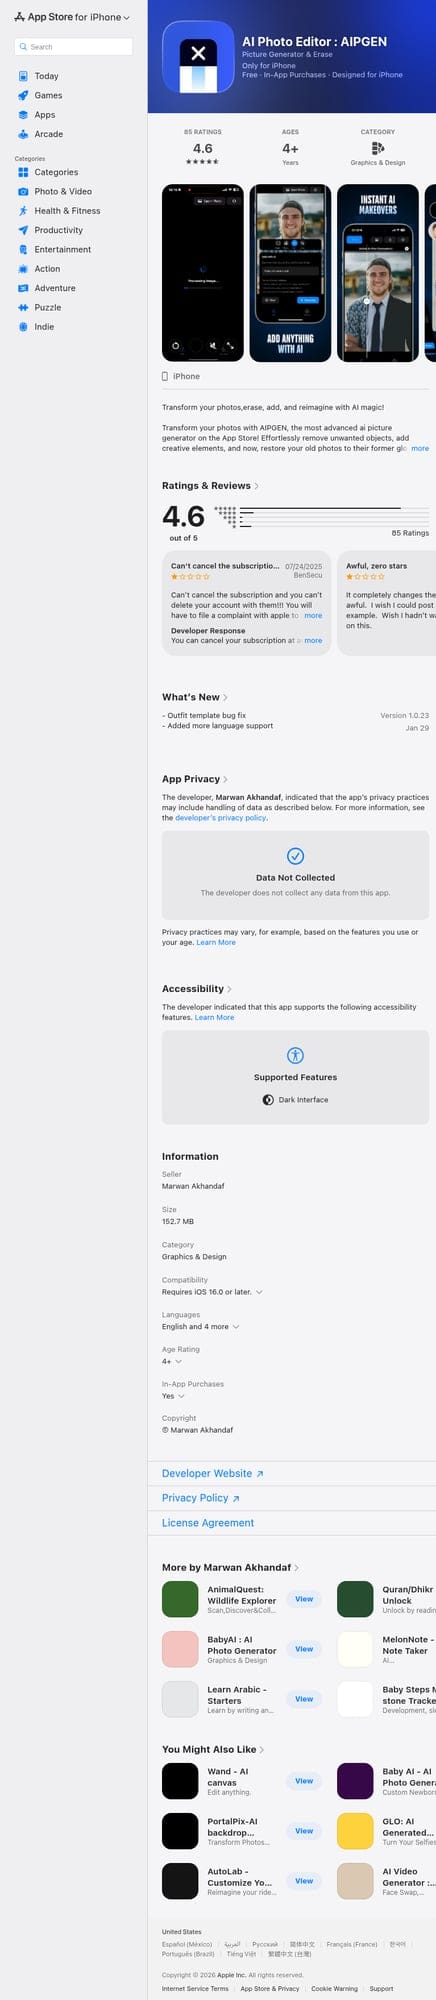
This is where things get interesting. AIPGEN takes a different approach: instead of specializing in one area, it combines object removal, photo restoration, and creative editing into a single app. The result is a tool that handles the full workflow we described earlier without switching between apps.
- ✅ Object and person removal with clean fills
- ✅ Photo restoration for old/damaged images
- ✅ 60+ AI templates for quick edits
- ✅ Unique group photo creator — combine individual shots into realistic group photos
- ✅ Before/after slider for instant comparison
- ✅ Cross-platform (iOS and Android)
- ❌ Free trial limited to one edit (premium required for unlimited)
For users tired of juggling multiple apps, having removal, restoration, and creative tools in one place is a genuine productivity boost. The 60+ AI templates are particularly useful — they let you apply complex editing styles with a single tap instead of manually adjusting multiple settings.
Tip 5: Leverage Before/After Comparisons
One underrated feature in modern AI editors is the before/after slider. It's not just for satisfaction — it's a critical quality control tool.
Train yourself to use this feature after every edit. Look for:
- Texture inconsistencies: Does the replaced area match surrounding textures?
- Lighting mismatches: Is the fill area appropriately lit?
- Edge artifacts: Are there visible seams or blurring at selection boundaries?
- Color shifts: Did the AI change colors in areas you didn't touch?
Apps like AIPGEN include a built-in before/after slider for exactly this purpose. If you spot issues, it's often faster to undo and refine your selection than to try fixing artifacts with additional edits.
Tip 6: Master the Art of Strategic Cropping
Sometimes the best AI edit is no edit at all. Before spending time removing complex objects, ask yourself: would cropping achieve the same result?
AI removal works best on objects surrounded by relatively consistent backgrounds. If the unwanted element is near the edge of your frame, cropping is often cleaner and faster. Save the AI tools for objects in the middle of complex scenes where cropping isn't an option.
Modern AI editors include smart cropping tools that preserve composition while removing edge elements. Use these before reaching for the removal brush.
Tip 7: Don't Neglect Photo Restoration
AI restoration is one of the most underused features in photo editing apps. Many people think of it as "only for old photos," but it's useful in countless scenarios:
- Low-light photos: Restoration can recover detail lost to noise and grain
- Motion blur: AI can sharpen subjects that weren't perfectly still
- Compression artifacts: Restore detail lost to aggressive JPEG compression
- Vintage photos: Bring old family photos back to life
- Scanned documents: Clean up and enhance scanned photo prints
AIPGEN's restoration feature specifically targets scratches, discoloration, fading, and blurry details — the common issues that plague both old photos and imperfect new ones. It's worth running restoration on any photo that looks slightly "off" before attempting other edits.
Tip 8: Use Templates for Consistency
If you're editing multiple photos in the same style — for social media, a project, or just personal consistency — AI templates save enormous time while ensuring uniform results.
Instead of manually adjusting exposure, contrast, color grading, and effects for each photo, apply a template and let the AI handle the heavy lifting. This is especially valuable for:
- Instagram feeds with consistent aesthetics
- Event photos that need uniform editing
- Product photography requiring standardized looks
- Before/after series with matching styles
AIPGEN offers 60+ AI templates covering different editing styles, from subtle enhancements to dramatic transformations. Finding a few templates that match your preferred aesthetic and applying them consistently is faster — and often better — than manual editing.
Tip 9: Combine AI Tools Strategically
The Reddit consensus for 2026 is clear: power users don't rely on a single tool. Here's a workflow that leverages multiple AI strengths:
- AIPGEN for primary edits: Object removal, restoration, and creative templates
- Dedicated upscaler for enlargement: If you need to significantly increase resolution
- Color grading tool for final touches: If you want cinematic color work
That said, for most everyday editing, a comprehensive tool like AIPGEN handles the entire workflow. The multi-tool approach is mainly for professionals or complex projects where each specialized tool's peak performance matters.
Tip 10: Embrace the Learning Curve
Finally, accept that getting great results from AI editors takes practice. Your first few edits probably won't be perfect — but neither were your first photos.
Each app has quirks. TouchRetouch works best with simple backgrounds. Remini can over-process faces. AIPGEN's templates need exploration to find your favorites. Spend time experimenting with low-stakes photos before tackling important ones.
"Having tried every 'photo enhancement' app in the store, I can vouch for the fact that this is the best available one. I found myself repeatedly using it."— App Store review for AIPGEN
The Bottom Line
Getting perfect results from AI photo editing isn't magic — it's method. Start with high-quality source images, be intentional with your selections, work in stages, and match the right tool to each task. Most importantly, take time to learn your chosen app's strengths and quirks.
For users who want a single app that handles the complete editing workflow — from object removal to restoration to creative templates — AIPGEN is worth exploring. The free trial edit lets you test the AI quality before committing, and the 60+ templates provide a solid foundation for consistent results.
Whatever tool you choose, remember: AI editors amplify your intent. Better input, better output. Now go rescue some photos.