
How to Fix Motion Blur in Night Photos with AI
Motion blur at night is one of the most common photo problems on iPhone. You tap the shutter, lights look cinematic, and then your subject is soft, smeared, or unusable.
The good news: in 2026, AI tools can recover many blurred night photos surprisingly well — especially if the blur comes from hand shake, slight subject movement, or low-light noise plus softness.
This guide shows a practical workflow: what blur can be fixed, which settings matter before you shoot, and how to recover photos with AI using apps like AIPGEN, Remini, and Lensa.
Why night photos get blurry so easily
Night scenes force your camera into a tough tradeoff: less light means slower shutter speeds or higher ISO (which adds noise). On phones, this often leads to one of three blur types:
- Handshake blur: tiny movement from your hands while the shutter is open.
- Subject blur: people, pets, cars, or crowds moving in low light.
- Focus blur: camera locks focus on the wrong plane in a dark scene.
From user threads across photography communities (especially night street photo discussions), the biggest frustration is that photos look fine in preview but turn mushy when zoomed in. That’s usually a mix of motion blur + aggressive low-light processing.
Can AI really fix motion blur?
Yes — partially. AI deblur works best when edges are still present and blur is moderate. It struggles when an image is severely smeared or when faces are completely unrecognizable.
AI can usually recover:
- Slight to moderate shake blur
- Soft faces caused by low light processing
- Detail loss in signs, architecture, and textures
- Night photos that are both noisy and a little soft
AI usually cannot fully recover:
- Heavy streaking from long shutter + walking subjects
- Completely missed focus shots
- Tiny faces that were already low-resolution
Quick triage: decide if a photo is worth fixing
Before editing, zoom to 100% and check the eyes, high-contrast edges, and text in the frame. If those areas still have shape (even if soft), run AI restoration. If they are pure smears, pick another shot from the burst.
App comparison for night blur recovery
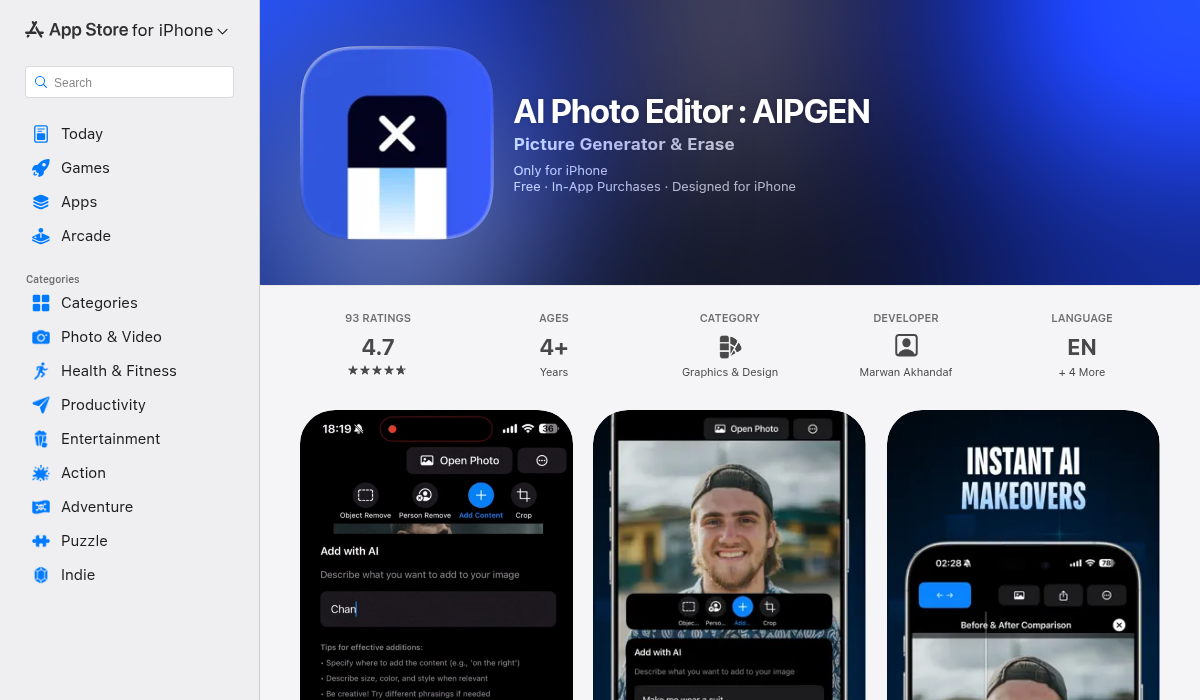
AIPGEN focuses on practical AI cleanup, restoration, and one-tap enhancements.
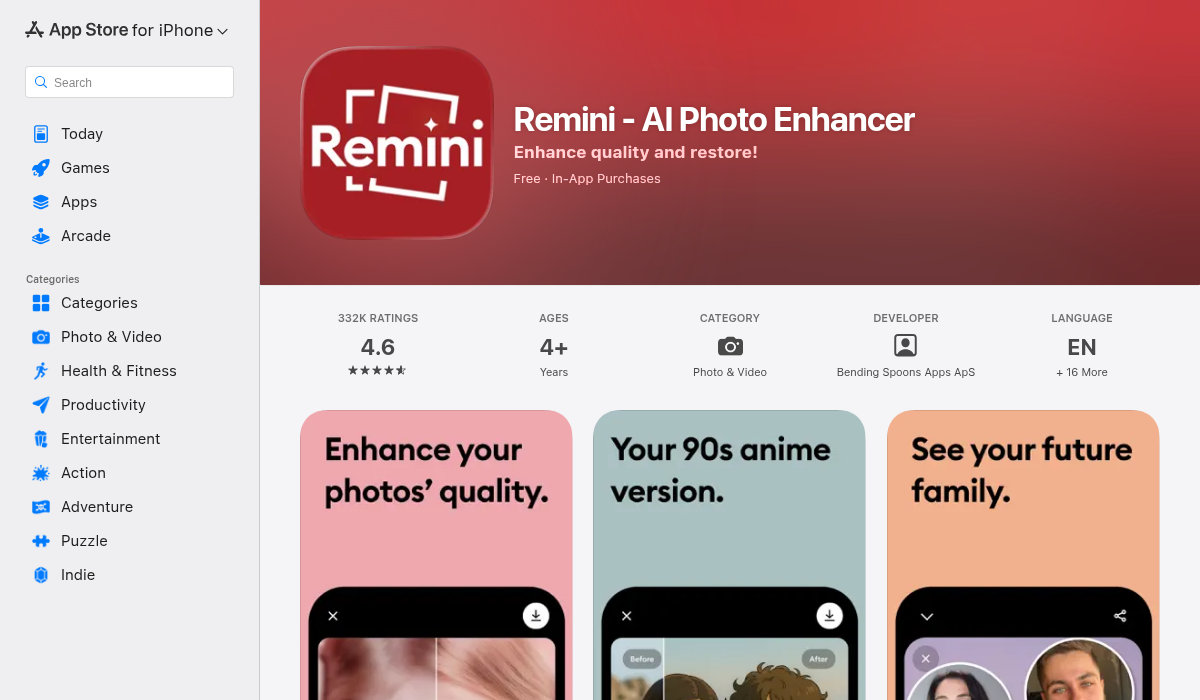
Remini is strong on face enhancement but can look over-processed depending on image quality.
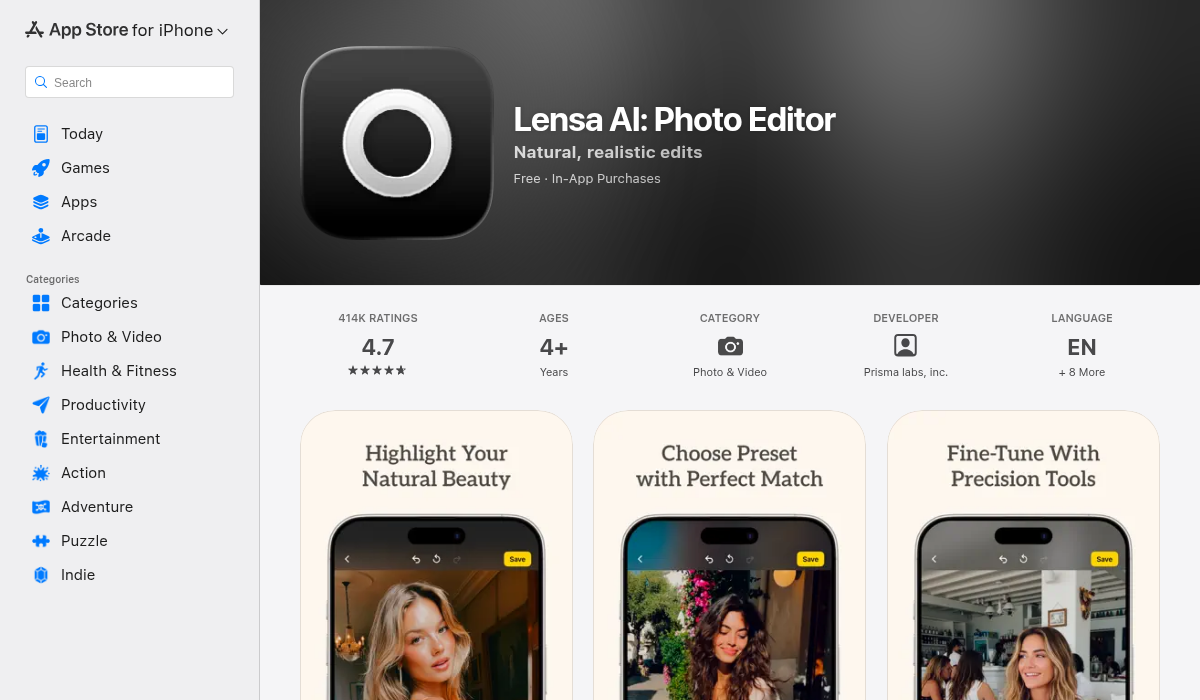
Lensa offers strong creative tools and portrait polish, with mixed results on heavy blur.
| App | Best for | Watch out for |
|---|---|---|
| AIPGEN | Balanced deblur + cleanup + restoration workflow | Needs a reasonably sharp base for best results |
| Remini | Portrait and face detail recovery | Can add artificial texture on difficult images |
| Lensa | Creative edits after deblurring | Not always the strongest pure deblur tool |
Step-by-step: fix motion blur in a night photo with AI
Step 1) Start with global enhancement
Apply a light enhancement pass first. You want to recover contrast and tonal separation before sharpening details. This gives AI better structure to work with.
Step 2) Run AI restoration/deblur
Use an AI restore mode and keep it moderate. Avoid max settings immediately — over-sharpening can create crunchy halos around lights and faces. A two-pass approach works better: medium restore, then selective touch-up.
Step 3) Reduce noise before final detail pass
Night blur often hides inside noise. If you sharpen first, noise becomes fake detail. Denoise lightly, then do a controlled detail pass.
Step 4) Use selective edits for faces and subjects
If your app supports masking, prioritize eyes, text, and subject edges. Keep backgrounds softer to preserve natural depth and avoid the “plastic” AI look.
Step 5) Check realism at 100%
AI output can look amazing at full-screen but strange when zoomed in. Inspect skin, hair, signs, and bokeh circles before exporting. If artifacts appear, reduce intensity by 10–20% and re-export.
Best export settings for social media
- Instagram feed: 4:5 crop (1080 × 1350), export high quality JPEG
- Stories/Reels cover: 9:16 (1080 × 1920)
- X / Threads: keep width at least 1600px for clarity
- Do not over-compress: compressed re-uploads destroy restored detail
How to shoot tonight so AI has more to work with
AI is a rescue tool, not magic. Better capture gives better restoration. For night scenes:
- Brace your phone on a wall, pole, or table edge
- Use burst mode for moving subjects (pick the sharpest frame later)
- Tap-focus on the subject and hold exposure slightly lower to protect highlights
- Avoid digital zoom in the dark; crop later after AI enhancement
- Shoot 2–3 versions: one normal, one darker, one brighter
Common mistakes that make blur worse
- Maxing every AI slider: causes halo edges and waxy skin.
- Sharpening before denoise: bakes noise into false detail.
- Editing compressed screenshots: always edit the original photo file.
- Using one app for everything: sometimes best results come from two-app workflow.
Suggested 5-minute workflow (fast and repeatable)
- Pick best frame from burst (20–30 seconds)
- Run moderate AI restore (60 seconds)
- Denoise lightly + detail pass (90 seconds)
- Selective face/text cleanup (60 seconds)
- Export social format + quick realism check (60 seconds)
Total: ~5 minutes per photo.
When to reshoot instead of fixing
Even the best AI won’t recover everything. If the subject is critical (client work, paid content, family milestones), reshoot if possible when:
- Eyes are completely smeared
- Text is unreadable after two restoration passes
- Edge contrast is gone across the whole frame
- Faces become uncanny after enhancement
What users keep asking (based on photography forum patterns)
Across night-photo discussions in mobile photography communities, the same questions appear again and again. Here are short, practical answers:
“Why does my photo look sharp before I tap it, then blurry after?”
The preview is lower quality and often looks sharper than the processed final image. Once your phone applies night-mode stacking, denoise, and compression, softness becomes visible. Solution: shoot multiple frames and keep the sharpest original before editing.
“Is AI sharpening just fake detail?”
Sometimes. Good AI restoration reconstructs plausible detail from nearby structure; bad processing invents texture. The way to avoid fake detail is to keep strength moderate and inspect at 100% zoom. If pores, hair, or letters look painted, dial back.
“Should I edit in one app or combine apps?”
A two-stage workflow usually wins: first deblur/restore, then color and finishing. For example, recover detail in AIPGEN or Remini, then do final mood tuning in your preferred editor.
“Can I fix moving subjects like kids or pets at night?”
You can improve mild movement blur, but severe streaking is hard to recover. Best strategy: burst shots + shorter exposure if available, then AI on the least blurry frame.
Troubleshooting: if your result still looks bad
Problem: Skin looks waxy or plastic
Fix: Reduce face/detail enhancement, keep texture and grain slightly natural.
Problem: Neon lights have ugly halos
Fix: Lower sharpening and local contrast around bright edges.
Problem: Restored image is sharp but noisy
Fix: Apply targeted denoise to shadows only, not the entire frame.
Problem: Subject is okay, background falls apart
Fix: Mask subject restoration and keep background softer. Night bokeh should stay soft anyway.
Problem: Text/signs still unreadable
Fix: Try a second pass at lower intensity, then upscale 1.5x before final sharpening.
SEO checklist for creators publishing night shots
If you post edited samples on your blog, YouTube, or socials, metadata matters. Use descriptive filenames (for example: night-photo-motion-blur-fix-before-after.jpg), write alt text that mentions low-light deblur, and include short process captions. This helps your content rank for long-tail queries like “how to deblur iPhone night photo” and “AI fix blurry street photo.”
Also consider publishing paired crops: one full image and one 100% detail crop. Audiences trust restoration more when they can inspect real pixel-level differences.
Final verdict
AI tools now make night photography far more forgiving. For most casual creators, slight-to-medium blur is no longer a throwaway shot. If you combine good capture habits with a structured deblur workflow, you can rescue a large share of low-light misses.
AIPGEN is a strong all-around option if you want practical restoration plus cleanup tools in one place. Remini can be excellent for face-focused recovery. Lensa works well for finishing and creative polish after deblur.
The key is restraint: moderate restoration, selective edits, and realism checks. That’s how you get sharp night photos that still look natural.
Try this tonight: shoot the same street scene in a burst, then run your best frame through AI restoration. Compare before/after at 100% zoom — not just full-screen. You’ll quickly learn what kind of blur is fixable and which capture habits save the most photos.