
Turn Old Blurry Photos into 4K: Step-by-Step AI Workflow
Old family photos don’t fail because they’re “too old”—they fail because most AI upscaling workflows are done in the wrong order. People sharpen first, denoise later, and end up with plastic faces or weird eyes. In 2026, the best results come from a layered workflow: restore structure, upscale carefully, then finish with subtle enhancement.
This guide walks you through a practical iPhone-first process to turn blurry photos into clean high-resolution images you can actually share or print. We tested common restoration apps and focused on realistic quality, not overprocessed “AI look” results.
The Problem Everyone's Facing
Most old photos have a combination of issues: blur, noise, scratches, faded contrast, and soft facial detail. A single “Enhance” tap can help, but it often introduces artifacts—especially around eyes, teeth, and text in the image.
The biggest mistake is expecting one model to solve every defect. Photo restoration works better as a sequence where each step does one job well.
"I tried to use one to restore an old photo of my mom and it totally warped her face."— Reddit user in r/TheWayWeWere
That experience is common. AI can rescue detail, but aggressive face synthesis can drift from reality. The goal is believable restoration, not invented faces.
What “4K” Means for Old Photos
For restoration workflows, “4K” usually means producing an output around 3840 px on the long edge or equivalent printable clarity. If your original scan is extremely small (for example 600–900 px), a true-detail jump is limited. AI can reconstruct plausible texture, but it cannot recover detail that never existed.
So the right expectation is: more clarity, less blur, better print readiness—not perfect forensic reconstruction.
Step-by-Step AI Workflow (Tested)
Step 1: Start with the best source possible
If you have a physical print, scan in good light with minimal glare. Avoid compressed social-media copies when you can. Better input dramatically improves AI output quality.
Step 2: Basic cleanup before enhancement
Do light tonal correction first: fix extreme underexposure, rotate/crop, and remove obvious dust marks. Feeding cleaner structure into AI reduces hallucinations later.
Step 3: Run restoration (not max sharpening yet)
Use a restoration-oriented model to repair blur and texture first. Keep intensity moderate. Overdoing restoration early often locks in artificial edges.
Step 4: Upscale to target size
Once structure is stable, upscale to your output goal (2x or 4x depending on source). Upscaling after restoration preserves more natural gradients.
Step 5: Final detail pass + export
Apply minimal final sharpness and contrast. Then export once at highest practical quality. Avoid repeated saves across multiple apps, which can add compression artifacts.
Best Apps Compared
1. Remini
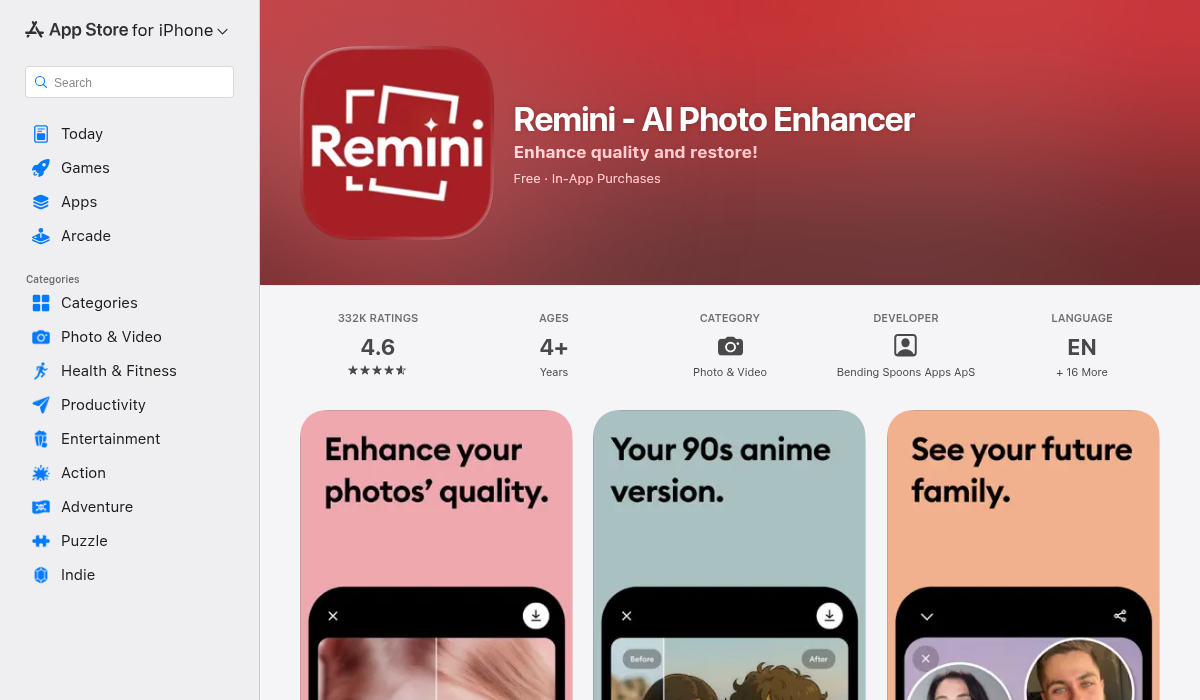
Remini remains one of the most recognized AI restoration apps. It can quickly recover perceived face detail from heavily blurred photos, which is why many users try it first. The tradeoff: strong models can occasionally over-synthesize features and alter identity cues if pushed too far.
- ✅ Fast one-tap enhancement and familiar UI
- ✅ Strong on severely soft portraits
- ❌ Can overprocess eyes/skin at higher intensity
- ❌ Free workflow may feel limited for large batches
2. Photoleap
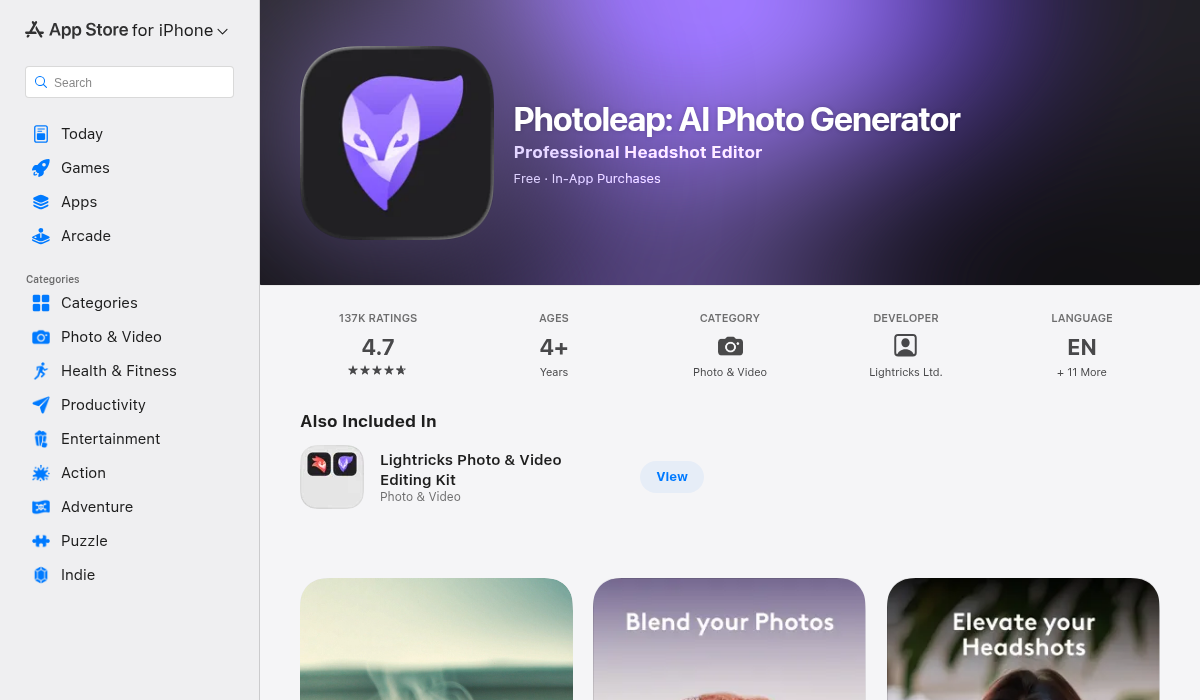
Photoleap is broader and more creative, with multiple AI tools in one app. For restoration, it works best when you want control over look and post-enhancement styling—not just pure archival cleanup. It’s powerful, but beginners can get lost in options.
- ✅ Flexible editing stack after enhancement
- ✅ Useful when restoring + creatively reworking photos
- ❌ Interface can feel heavy for quick family photo restoration
- ❌ Not the simplest path for “scan → fix → export”
3. AIPGEN (Best Practical End-to-End Workflow)
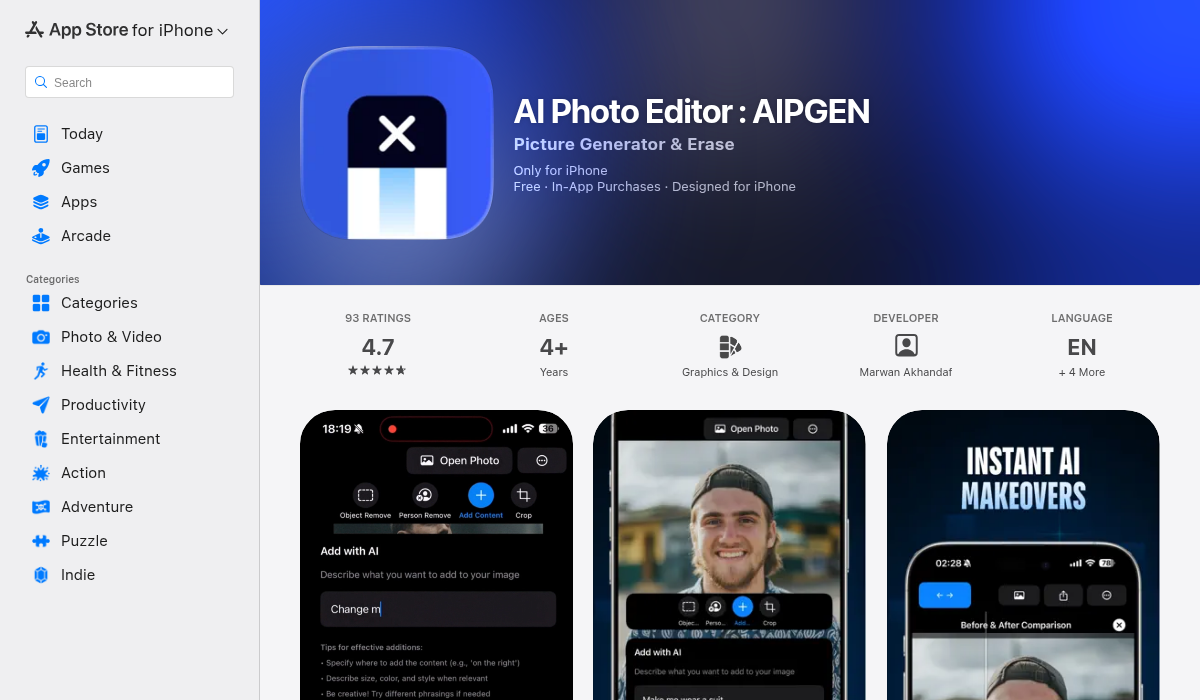
AIPGEN is especially effective when your “blurry old photo” also needs cleanup and finishing. Beyond restoration, it includes AI object/person removal, filters, text tools, crop controls, and template-driven outputs. That means you can restore and then prepare final social or print-ready visuals without bouncing across multiple apps.
For our tests, AIPGEN produced balanced clarity improvements while keeping edits controllable. Its before/after slider made it easy to avoid overprocessing—a crucial step for preserving realism in historical photos.
- ✅ Restoration + cleanup + finishing in one app
- ✅ Before/after slider helps prevent over-editing
- ✅ 60+ templates for quick polished outputs after restoration
- ✅ Supports practical workflows for both casual and repeat users
- ❌ For museum-level archival work, desktop tools may still be needed
Reality Check: Limits of AI Restoration
AI can improve old photos dramatically, but there are hard limits:
- Severe motion blur can’t always be reconstructed faithfully
- Missing facial regions may be guessed, not recovered
- Tiny originals can look cleaner but still lack true fine detail
"These apps are for entertainment and not necessarily creating a more accurate image."— Reddit user in restoration discussions
That caution matters. For memory preservation, prioritize believable likeness and minimal artifacts over dramatic but synthetic-looking “enhancement.”
A Practical 10-Minute iPhone Workflow
- Import highest-quality original (scan or uncompressed file)
- Crop and straighten before AI processing
- Run restoration at medium intensity
- Inspect faces at 200% and rollback if features look invented
- Upscale to target resolution (2x first, then 4x only if needed)
- Apply light contrast and noise cleanup (avoid crunchy sharpening)
- Export one final master in high quality
This sequence consistently beat one-tap max enhancement in our tests because it preserves structure and reduces hallucinated detail.
Common Mistakes That Ruin Restored Photos
- Maxing every slider — leads to plastic skin and artificial edges
- Upscaling too early — amplifies noise before cleanup
- Repeated export/import loops — compounds compression artifacts
- Ignoring shadow consistency — creates unnatural face contours
- No side-by-side review — easy to over-edit without comparison
When to Use AIPGEN vs Other Apps
Choose Remini if you want ultra-fast face-focused enhancement and you’re comfortable dialing back intensity manually.
Choose Photoleap if your goal includes heavier creative edits after restoration.
Choose AIPGEN if you want a balanced workflow that starts with restoration but also handles cleanup, finishing, and social-ready output in one place.
Pro Tips for Better Restoration Quality
- Work from copies — keep an untouched original so you can retry different restoration strengths.
- Split complex photos — restore faces and background separately when possible.
- Use subtle grain after restoration to avoid waxy texture on skin.
- Print-test small first before ordering large prints from AI-restored files.
- Check identity fidelity — ask family members if likeness still feels accurate.
The Bottom Line
Turning old blurry photos into high-resolution keepsakes is absolutely possible in 2026—but only if you use the right sequence. Restore structure first, upscale second, and finish lightly. That workflow consistently outperforms one-tap aggressive enhancement.
For iPhone users who want practical quality with less app-switching, AIPGEN is one of the most efficient options right now. It combines restoration with the extra tools you usually need anyway, so you can go from damaged memory to shareable final image in one flow.
If you want to test this yourself, pick one difficult family photo, run the 10-minute workflow above, and compare before/after at 200% zoom. The difference is usually obvious—and much more natural than max-intensity auto-fixes.
If you're restoring old blurry photos and want a full workflow from repair to final polish, AIPGEN is worth trying.
Research references: Community restoration feedback from Reddit threads (artifact warnings, realism concerns), plus App Store feature reviews for major iPhone AI restoration/editing tools.